|
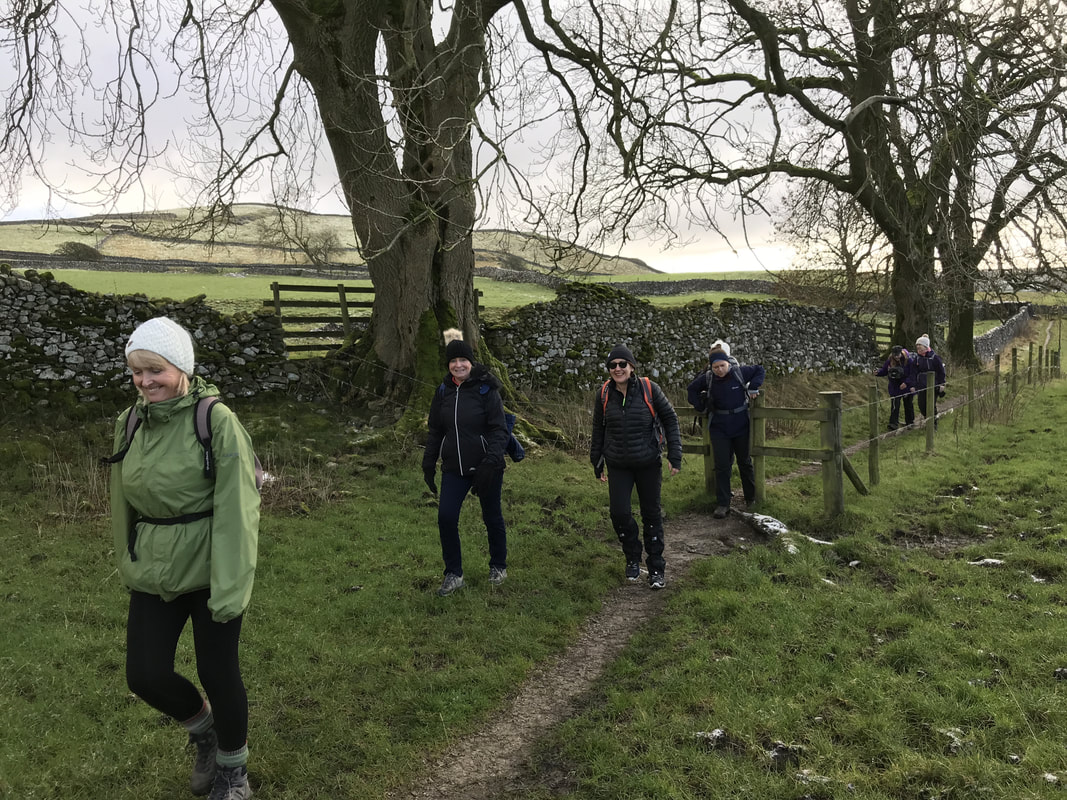
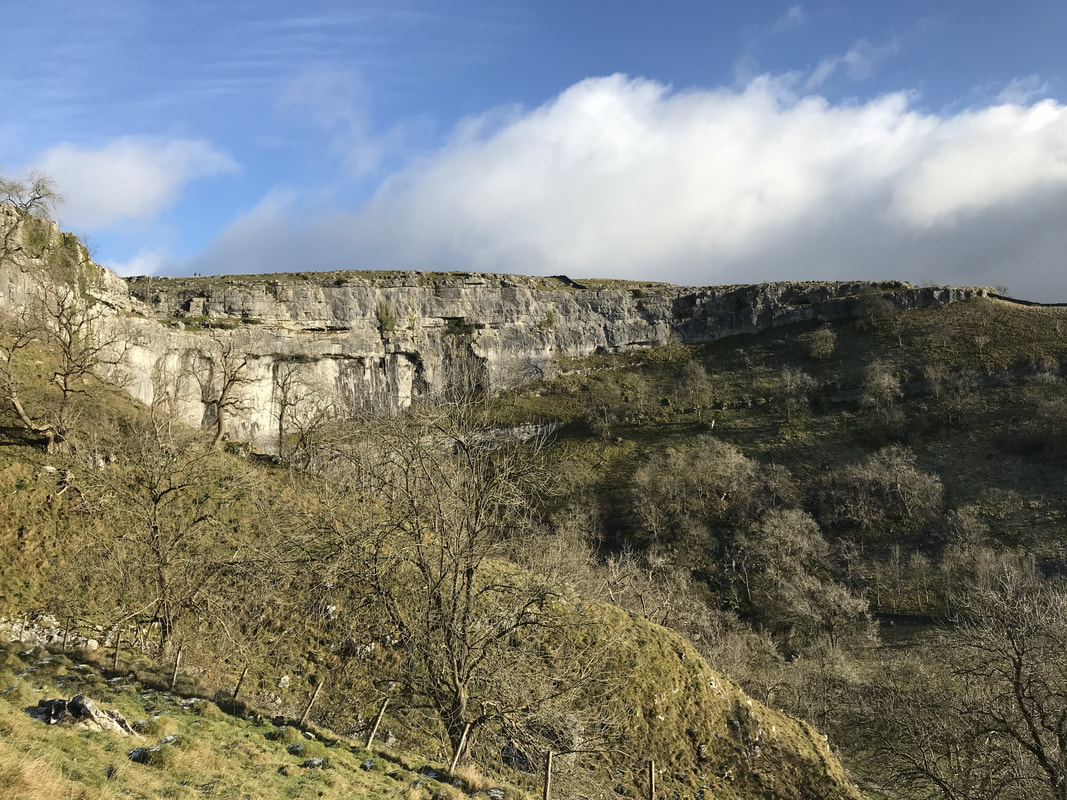
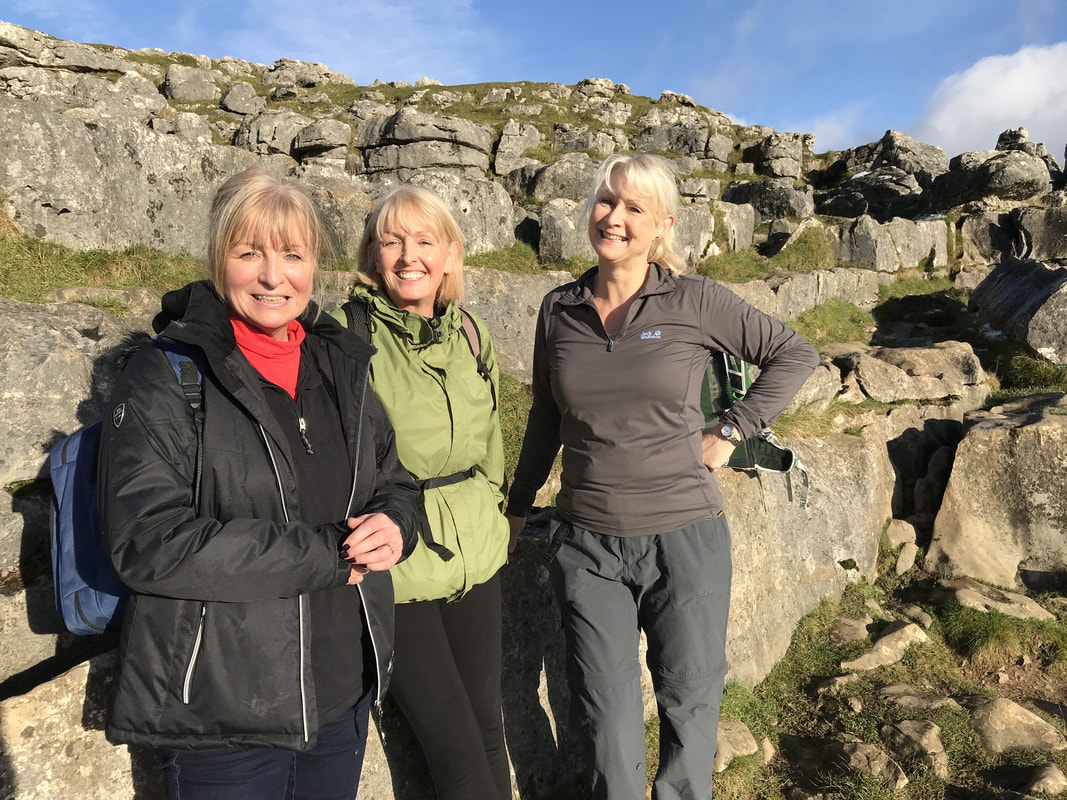
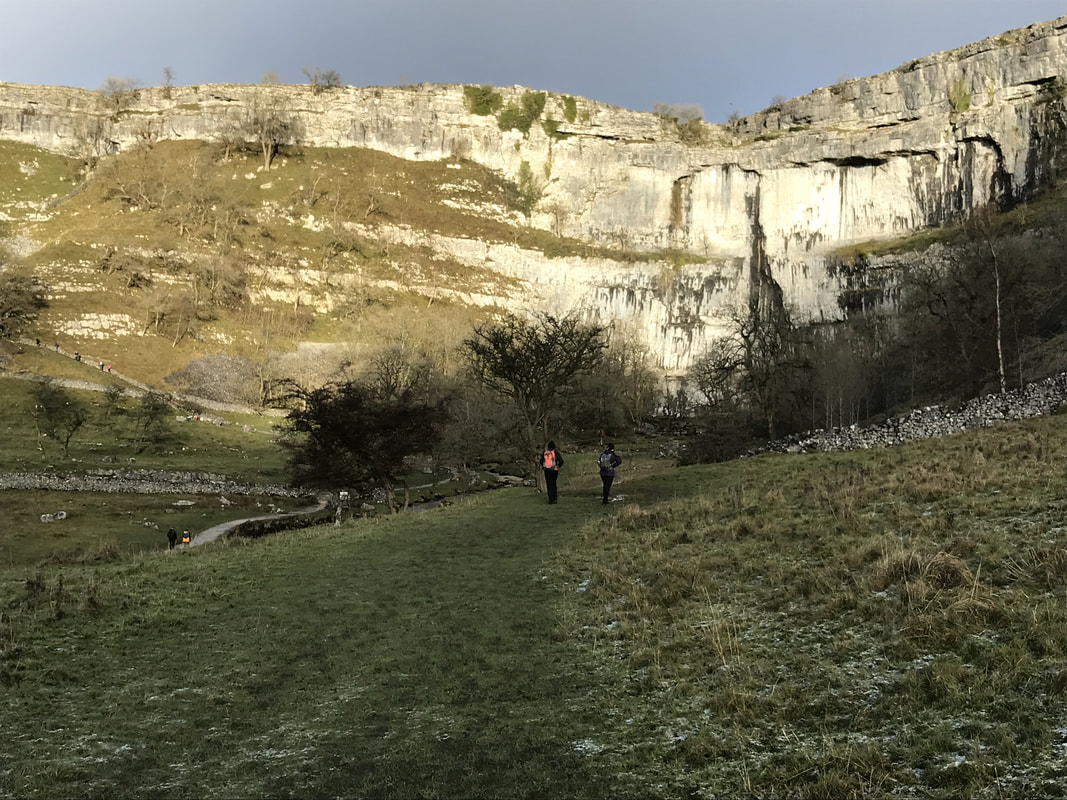
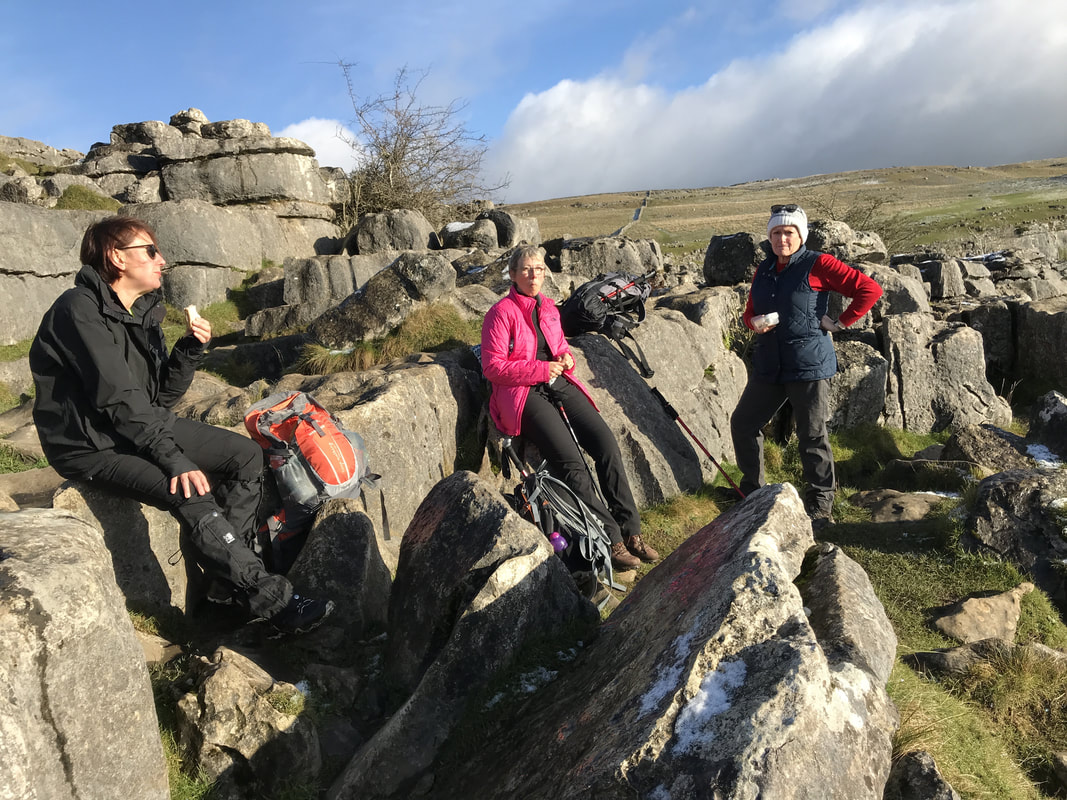
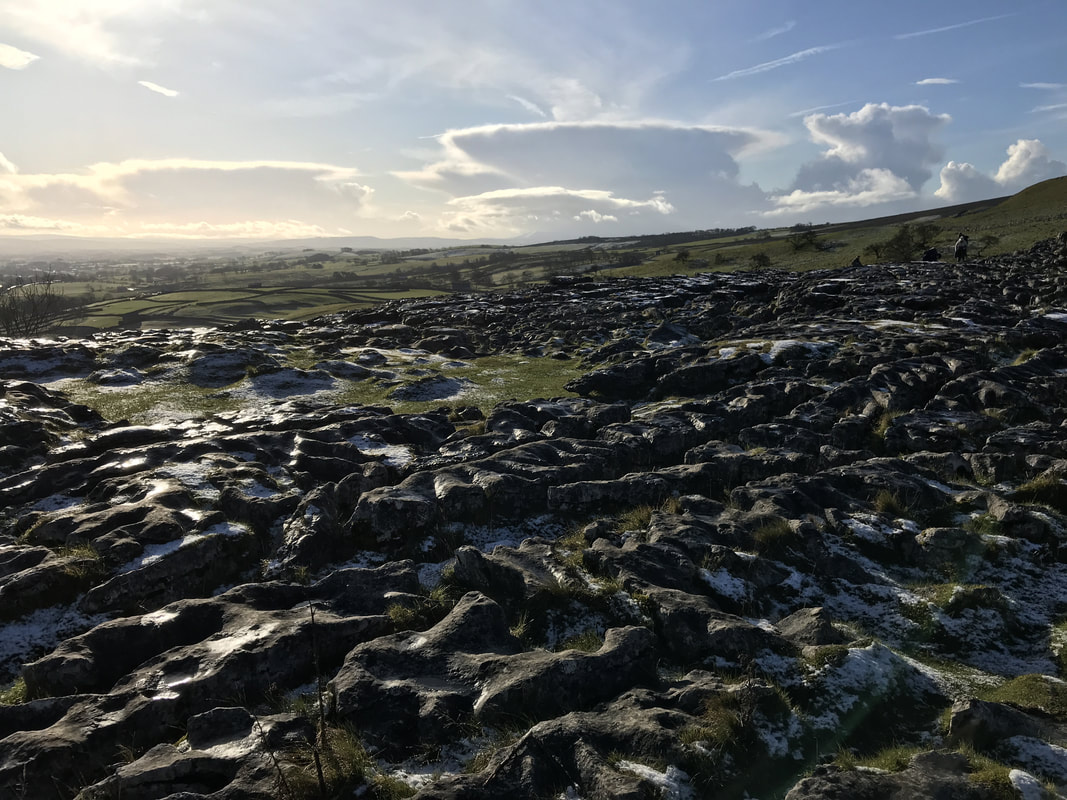
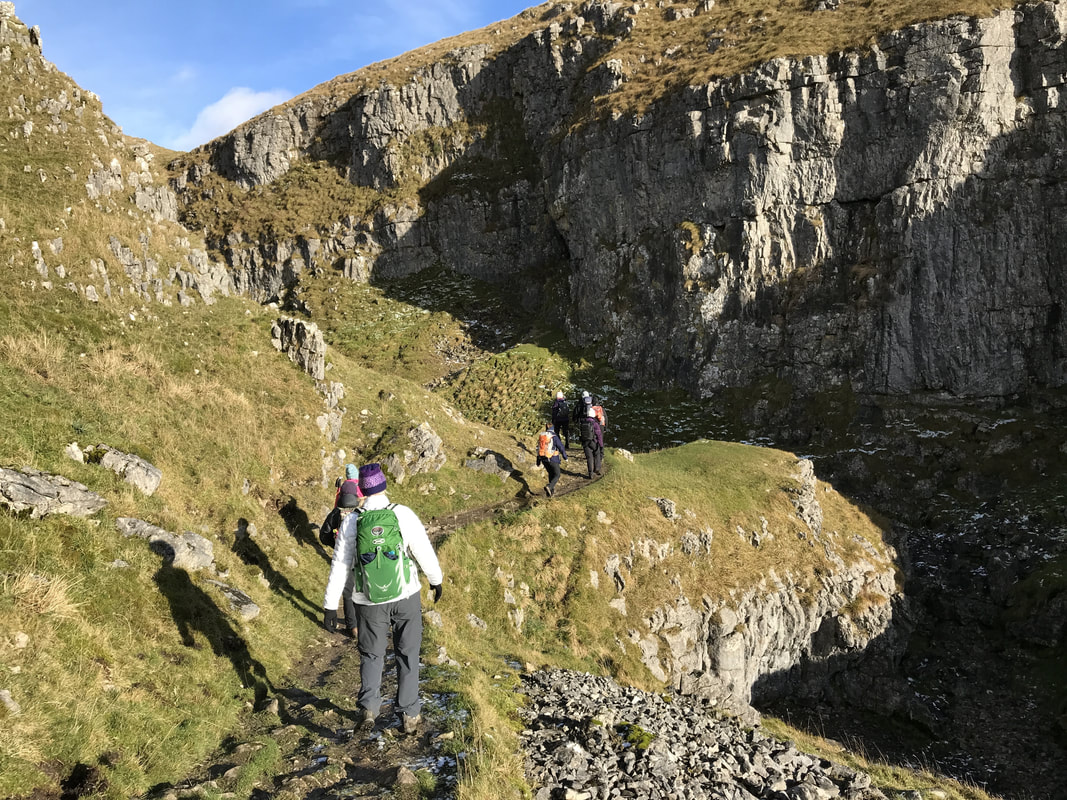
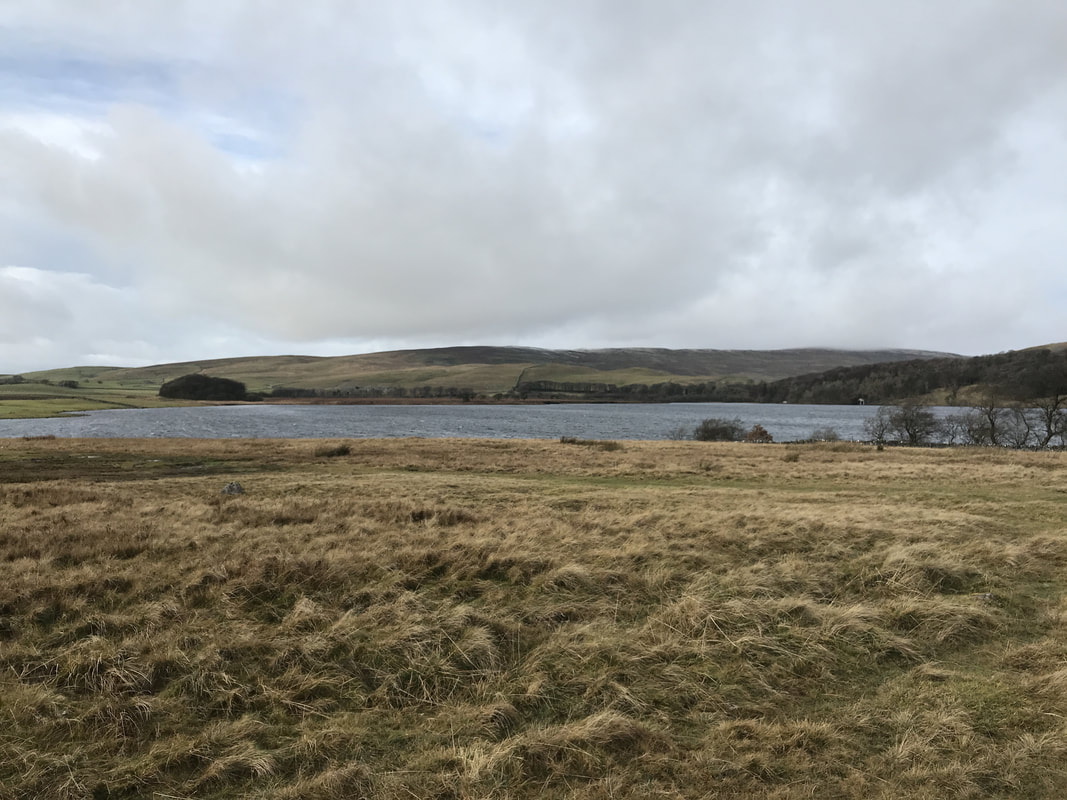
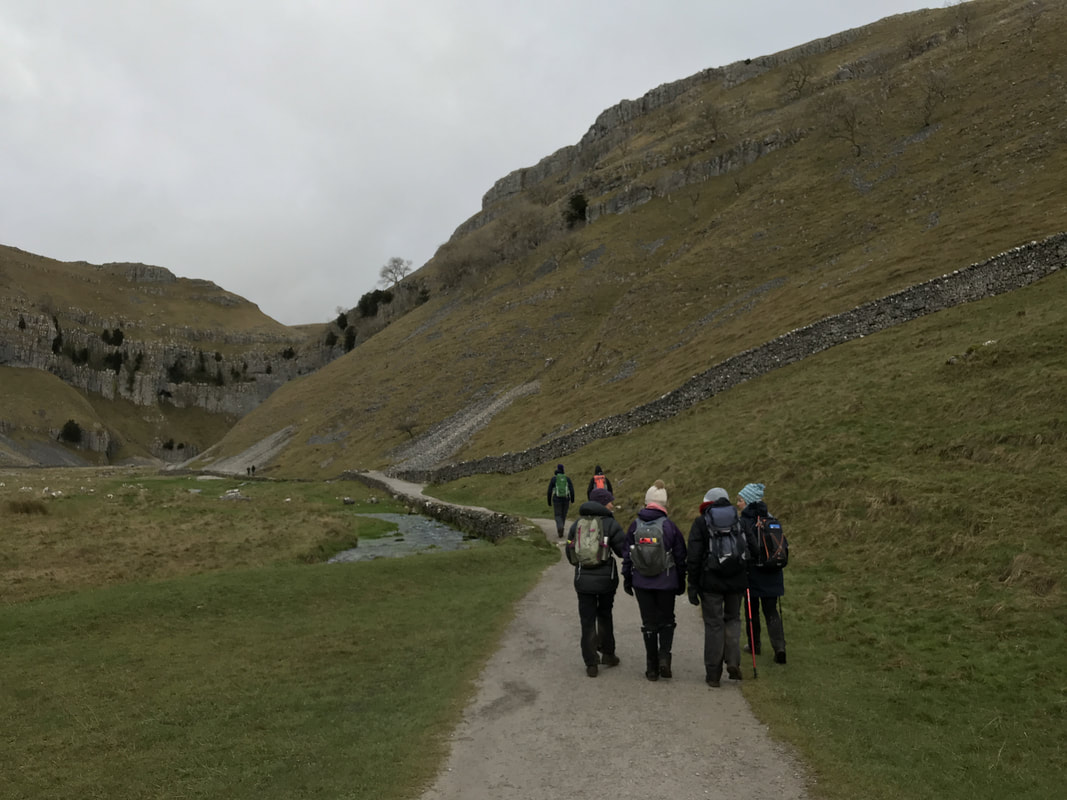
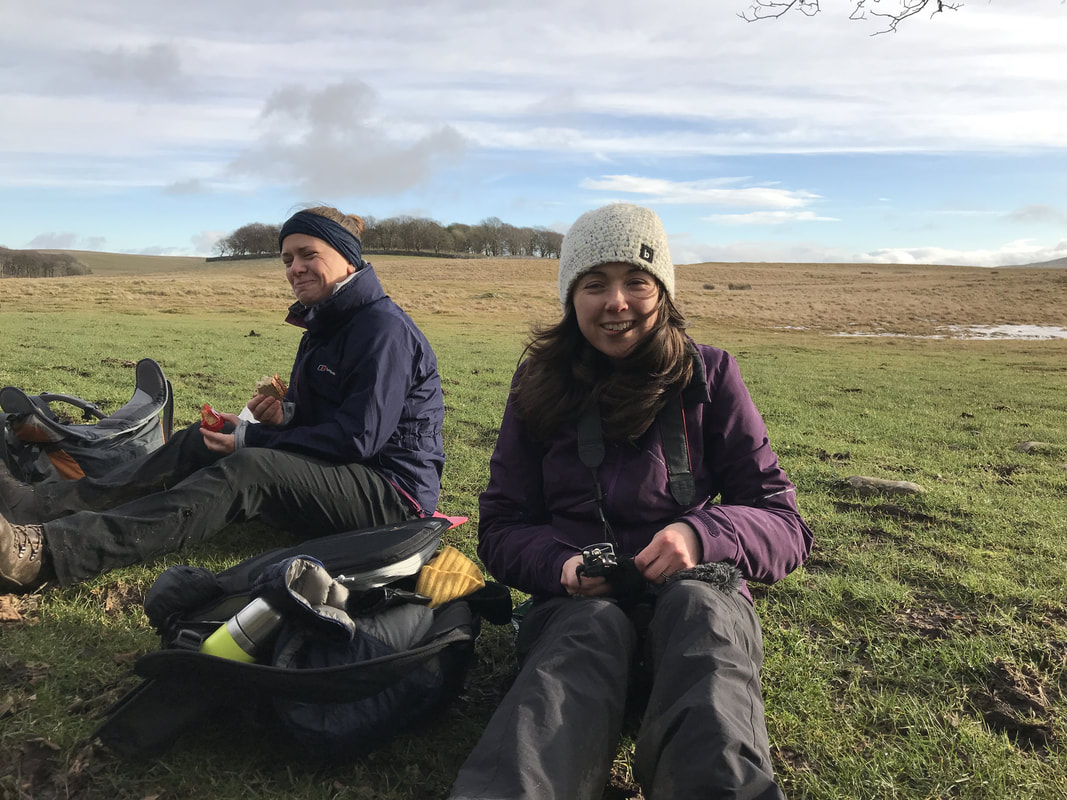
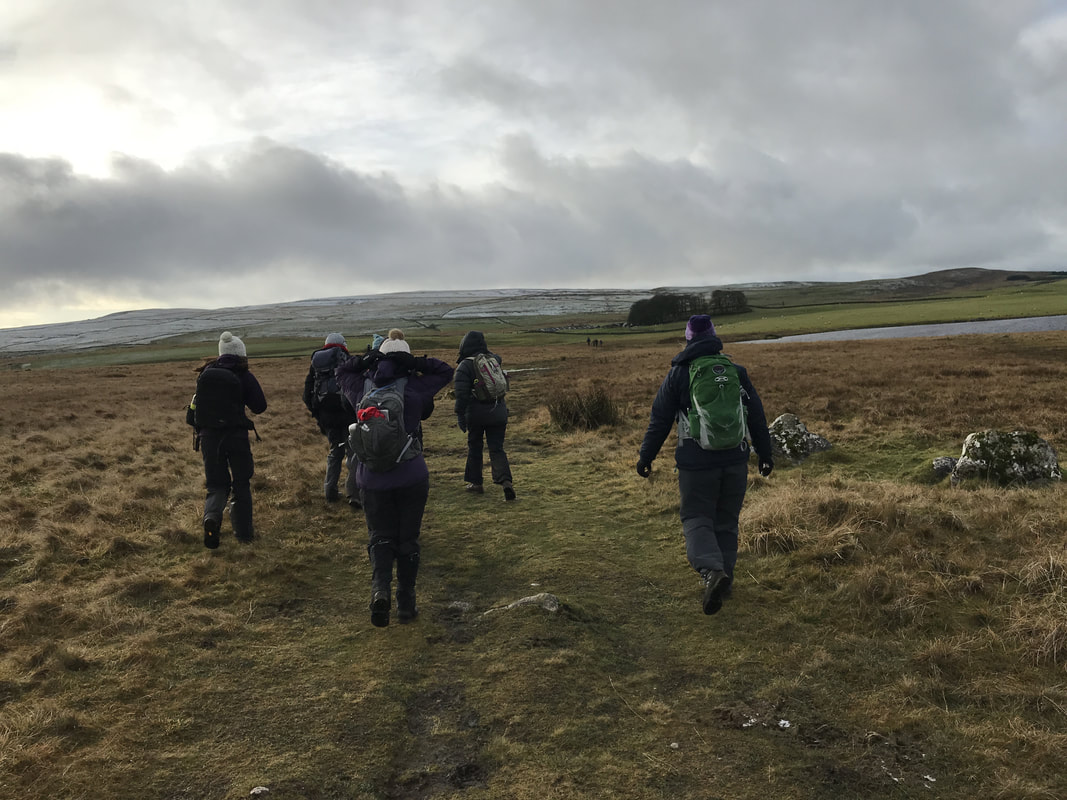
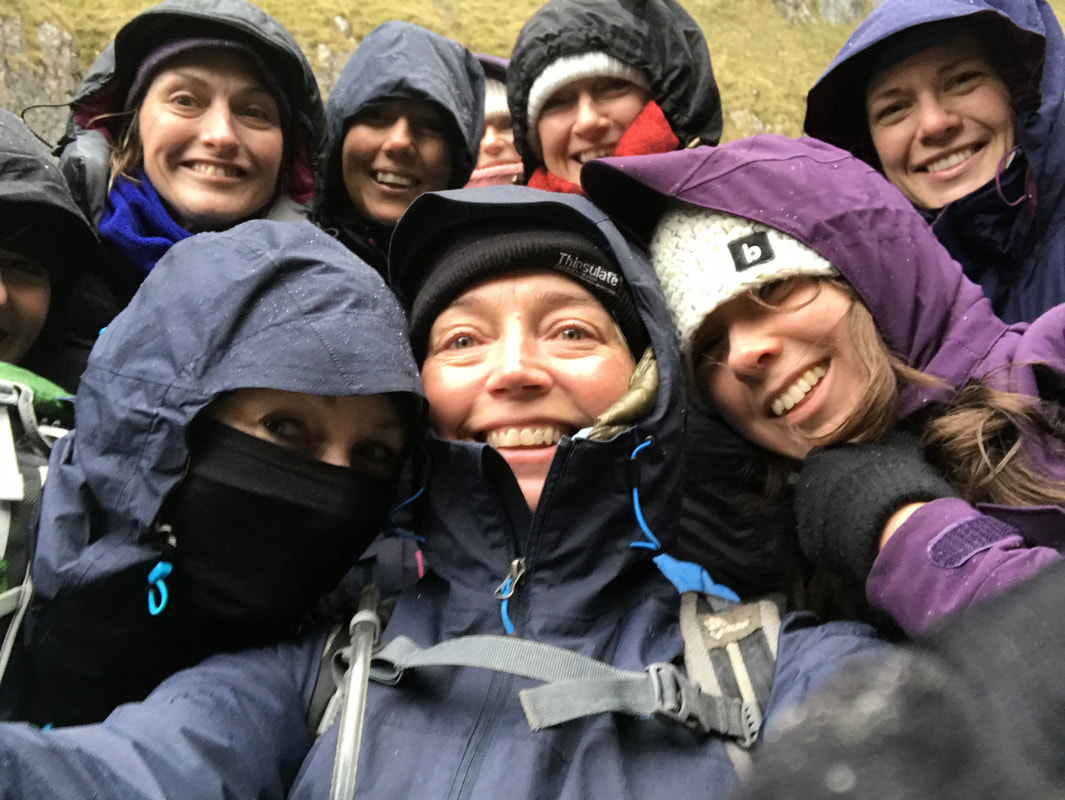
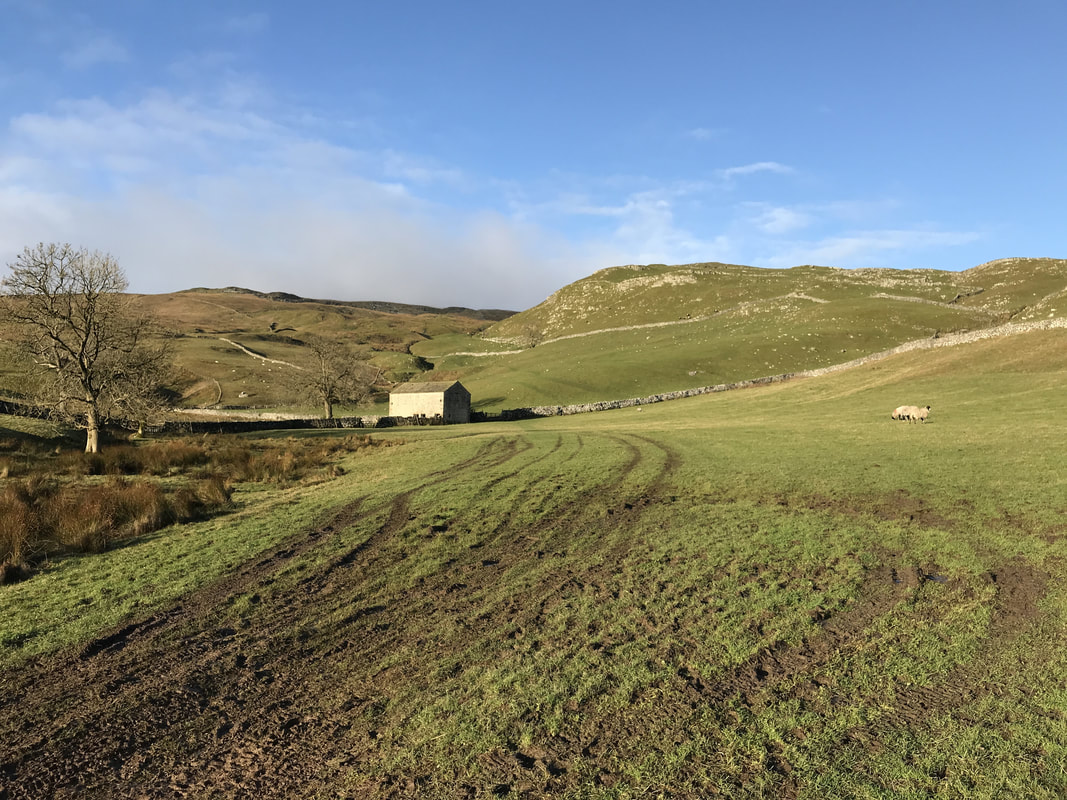
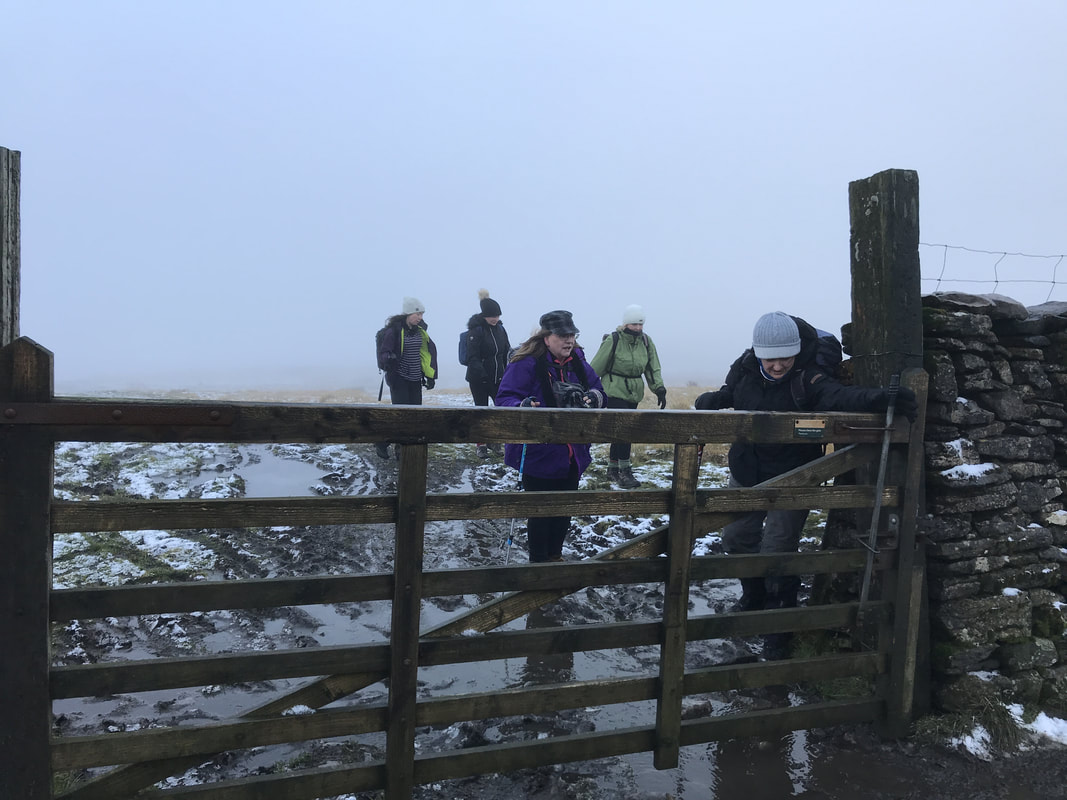
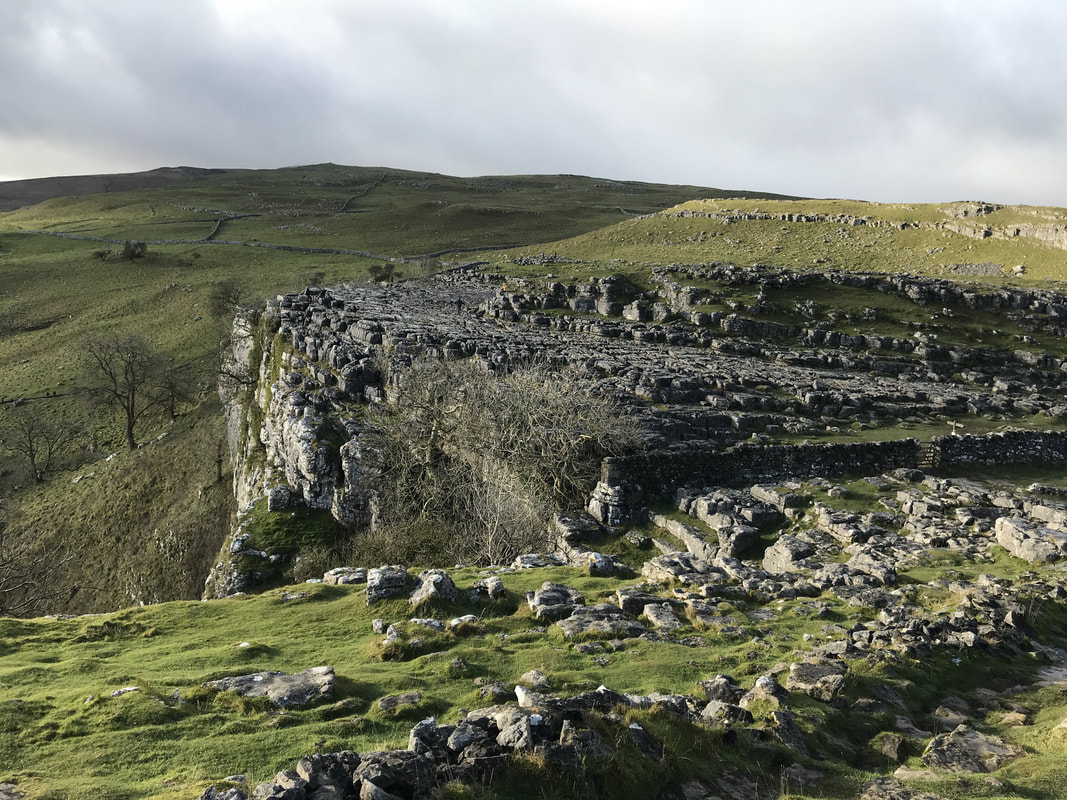
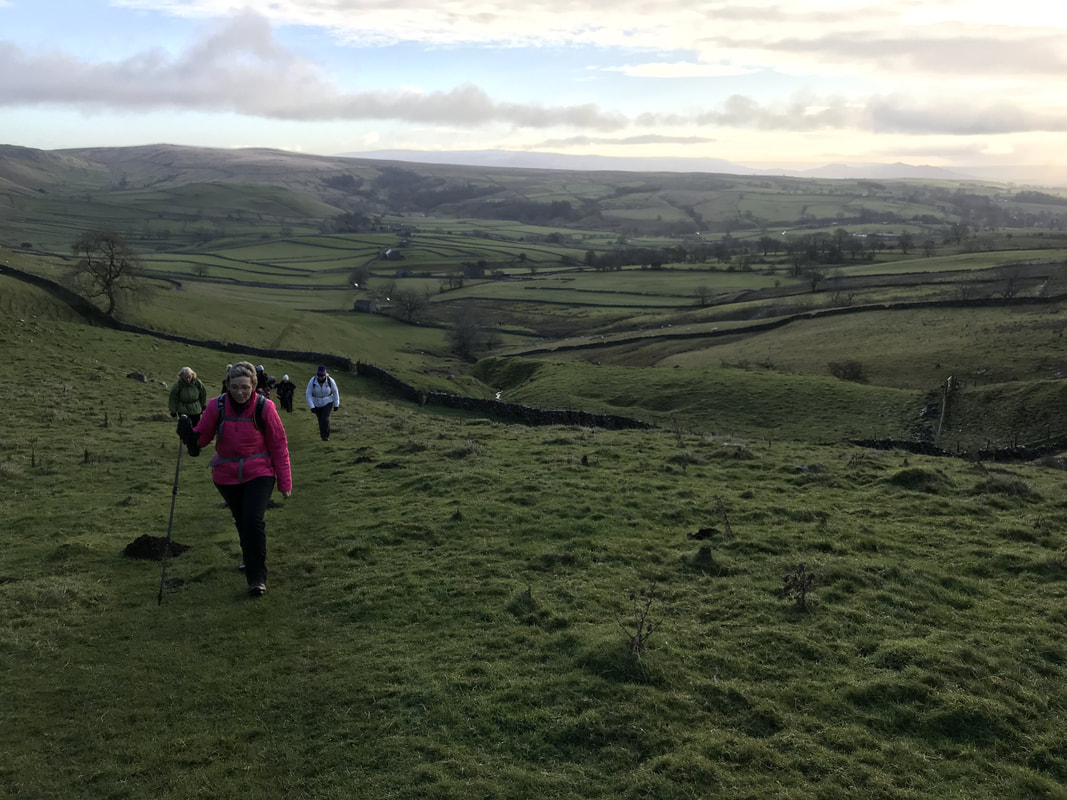
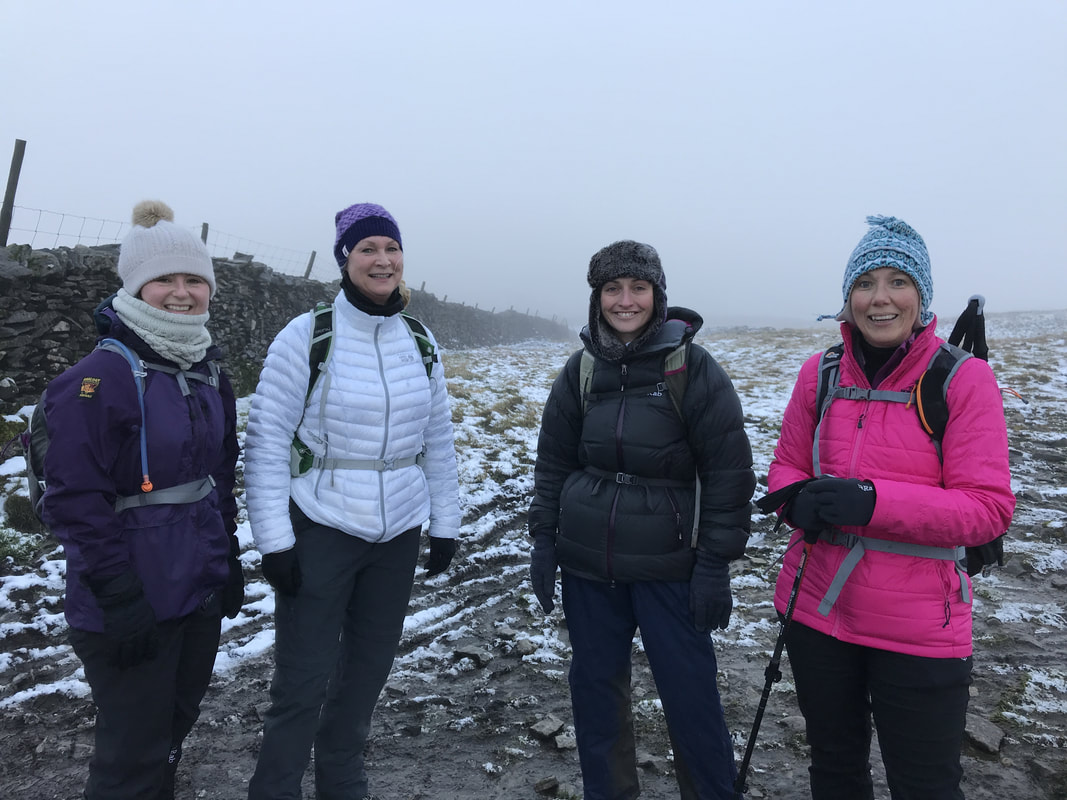
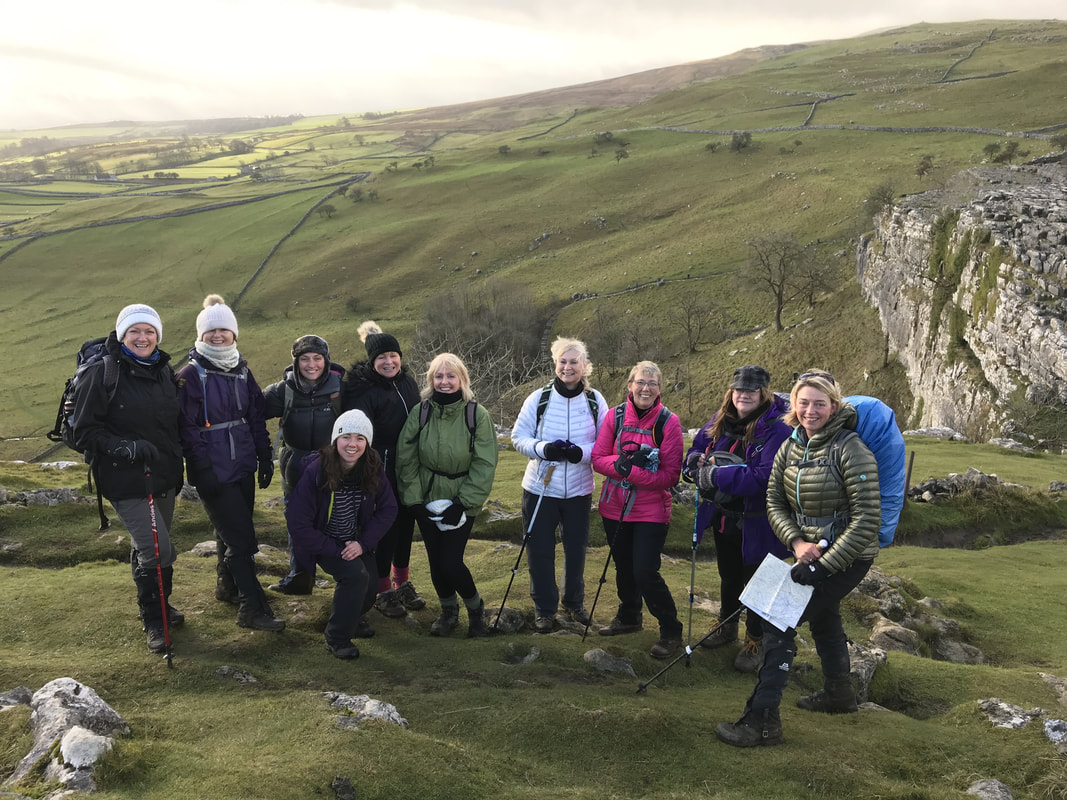
The first ever Glamoraks Walking Weekend was held on 24 - 26 November. And it was fab! Fourteen ladies made their way to Malham Youth Hostel. Most people didn't know each other so there was a certain amount of trepidation, but an evening in the cosy Lister Arms pubs with several glasses of warming red wine, and any anxieties were laid to rest. The hooting of the resident owl sent us off to sleep ready to tackle a day of walking. Once the rest of the group arrived on Saturday morning, we set off. Using the footpath that runs directly alongside the hostel we made our way up to the base of Malham Cove. It's a stunning setting and gave us a taste of the scenery to come. Crossing a stone bridge over a stream we made our way up the steep steps the carve around the edge of the cove. From the top, the views over the Yorkshire Dales were incredible. After a warming cup of tea, we gingerly made our way across the limestone pavement - famed for having a Harry Potter scene set on it. The slippery stones made it slow going. On the far side we decided to split into two groups - those who wanted a more gentle walk of 4.5 miles to Gordale Scar, Janet's Foss and back to the hostel; and those who wanted a longer walk up to Malham Tarn and Malham Raikes before picking up the path to the Scar and Foss. While the sun was glorious during our walk up the Ing Scar, at the Tarn it was bitterly cold, so we found a wall to shelter behind to enjoy our picnic lunch. Suitably revived, we headed for Malham Raikes and got stuck in icy bogs en route. After squelching through those for a while, we were pleased to hit a drier path and finally reached Gordale Scar. Just as we were heading for home, the heavens opened and our faces were whipped with sleep and rain. A final stretch in woodland passed Janet's Foss and we made it back to the hostel before the sunset. Thanks to Janet for the ingenious idea to create hot port, we feasted on cake and hot toddies and soon thawed out. A team dinner of chilli, rice, salad and garlic bread, washed down with wine, and soon we were solving all the problems of the world. It wasn't a late night for anyone! We had an early wake up call as the fire alarm went off at 4.30am for absolutely no reason whatsoever. After catching a few more hours sleep and a hearty breakfast, the group once again split into two. The smaller group had to get back in time to catch trains to London and elsewhere, so they headed off to Kirkby Malham where they timed their arrival just as the Sunday service ended. They received a warm welcome from the Parishioners. The larger group decided to tackle Pikedaw Hill. This is a reasonably feisty climb that started in stunning winter sunshine but ended in murky fog at the top, where a layer of snow still lay on the ground. But before the fog set in, we were rewarded with more spectacular views. We crossed the top and headed by to Ing Scar where we picnicked for lunch, before making our way home, a total of about 7.5 miles. All too soon it was over. But we left with pink cheeks and smiles on our faces. The best thing about walking with other women - even if you don't know them - is that you very quickly get past the superficial layer of conversation and dive straight into the good stuff. Thank you so much to all the lovely ladies who joined me and for giving me a snapshot into your lives. Let's do it again! If you want to meet other likeminded women to go walking with, join the Glamoraks community.
1 Comment
WARNING: Graphic content related to pee, poop and periods. Probably best not to be read over lunch.
The thing about going for a long walk is that at some point you are going to need the loo. For blokes, this is less of an issue, certainly when it comes to peeing. But women face a few more challenges in the toilet department. As someone who drinks a lot of water, who has given birth to two children and whose pelvic floor isn't what it used to be, I pee a lot. Sometimes just heading outdoors into the cold will bring on the need for a pee, even if I've already been before setting off. But it's not just peeing. Sometimes - particularly after eating and then walking a few miles - your body might let you know that an evacuation of a different kind is required. And then there's what to do if you have your period. So let's just get over any embarrassment and discuss it: Let's start by saying that if at all possible, go before you set out. But your body may have ideas of its own and if you're doing a multi-day walk or wild camp, it's not really an option to just not go! Your basic bush pee There are all sorts of devices on the market now to help women pee anywhere (more on those in a moment) but in all honesty, you can't beat the basic bush pee. Find a bush or long grass, pull your pants down, squat, pee, dry and go. Let's break that down (for some of you, this may be blindingly obvious, but I have met many women who have NEVER had an outdoor pee. So I'm going to run through some basics): The hiding spot: You will want to find a spot that is hidden from anyone coming in any direction. This is important. When you're in a rush, it's easy to look one way, forgetting that someone might come along the path in the opposite direction. It's best to stray slightly off the path to avoid spectators - but don't get lost! Avoid going right next to water or on the actual path. Start looking for a spot well before you're desperate, particularly if there is a lot of foot traffic on the path. If necessary, get a friend to be on kaka-kaka duty. This is a technical term invented by my son who was about 9 at the time. He suggested that I go pee behind a bush and he would make a bird call that goes 'kaka-kaka' should someone approach..... We've used it ever since because it makes me laugh every time. Pants down and squat: Simple really. Just mind where you squat. You don't want to squat over long scratchy grass or a patch of nettles for example. I have done this. It isn't pleasant. Also be aware that if you are in a very muddy area, your pulled down trousers can get filthy. You will require some quad strength to squat and hold. Build squats into your fitness routine. Even if peeing outdoors strikes terror in your soul, trust me, you can do this. It's remarkably liberating actually and often you get a great view while peeing! Pee and dry: When you pee, take note of the wind direction and hill slope to reduce blow back onto your boots. If you leave your pack on, be sure to check for any dangling straps that may get in the way too. If you can try and check your pee colour to ensure you're drinking enough on a long hike. If it's dark yellow, you need more water. If it's completely see through, you're drinking too much. It's important to stay hydrated while walking. Now if you have no risk of getting caught, plenty of time and quads of steel, you can remain in your squat while you 'drip dry'. However, for speed and dryness, you can use a tissue. BUT you need to bag it up or burn it. Take a little sanitary bag or one of these Fab Little Bags to store your used tissues in. Alternatively, consider using an ultra thin panty liner to keep your knickers dry. Do not leave your used paper lying behind. The advanced or technical pee If you prefer to stand up and pee so that you're not exposing your backside and bits to the world, you could try a portable urinal device. They can be more of a faff than they're worth, but are useful if camping and you don't want to get out of your tent at night or if you just can't find privacy to hoik your pants down. Some of them you can even use while lying down in your tent, although this takes some practice and a lot of confidence! Remember, you will need to dispose of your urine somewhere away from camping spots, rivers or picnic areas. Shewee - this device has a cup that you fit to your bits, with a tube that attaches to direct the pee away from you, either onto the ground or into a bottle. Practice using this in the shower first. Easy enough once you've got the hang of it. Comes in its own case making it easy to store. It weighs 100g but if you're using it in a tent, you will need a pee bottle to pee into. Do not confuse your pee bottle with your drink bottle.... Peebol - this is good for in-tent peeing. It's a plastic bag filled with the same gel you find in babies nappies. A cardboard rim holds the bag open while you pee into. Again, it takes some confidence letting go into a bag that you hope will fill. But the gel works well. It holds up to a litre and can be resealed and reused until full. Be warned, it might just be two pees at most! You will have to find somewhere to dispose of it - not suitable for a hike unless you fancy lugging a gel-filled bag of pee with you for miles. They come in 3, 8 or 12 packs. TravelJane - I have not personally tried this product but it looks like a cross between the shewee and peebol. Same issues as the Peebol - having to dispose of the gel after use, but good for camping. Uriwell- Now this one I have a good deal of experience with. It is a solid plastic cup with a concertina plastic tube. You extend the tube, place the cup strategically over your bits and pee. You can use this lying down, standing up or squatting. As it concertinas it doesn't take up much space when collapsed, so good for a backpack. BUT and this is a big BUT, you can only concertina it twice. Thereafter, the plastic becomes too fragile and it will leak. Let's just say I learned this the hard way (as did the person sharing my tent). Dealing with a number two It's not just bears that shit in the woods.....sometimes, if you are on a multi-day hike, wild camp or just get caught short, you need to poop. Ideally you should try to poo before you leave, but we can't always control our bodies and there's no point getting embarrassed about it. So here's what you do.
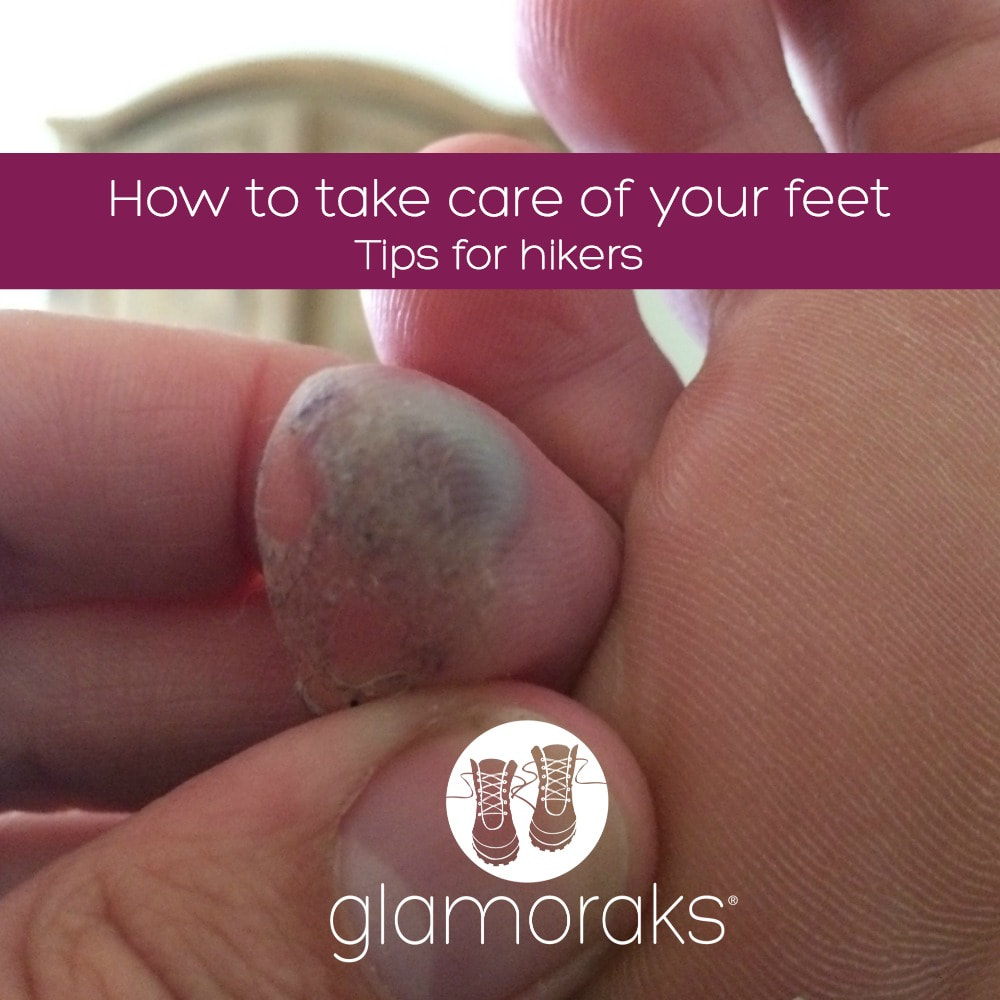
Periods If you are unlucky enough to get your period while on a hiking trip, you have a few options: Tampons and sanitary pads You cannot bury tampons or towels, so if you use them, be sure to bag them and take them away with you to be disposed of once you find a bin. These FabLittleBags as mentioned above are brilliant for that as they can be opened with one hand (leaving your other hand free to remove the tampon/pad) and seal up tight. You can use these to store the applicators or wipes too. And they're biodegradable. Menstrual cups If you're long distance hiking and want to cut down on weight, then a menstrual cup might work best for you. They are lightweight, environmentally friendly and comfortable to wear (once you've practiced using it). But you will need to bury the contents of the cup and will need to be able to clean it out, not always easy when you're hiking. If you don't have warm water and soap to clean it, you can just wipe it with toilet paper (which you'll then have to burn or carry out). Summary I find it best to carry a toilet bag with me containing: - tissues or toilet paper and tampons plus a spare panty liner - a bag for putting used paper/items in - hand sanitiser Have this bag easy to grab so that should a suitable bush appear, you can grab and go! For longer hikes, I'd add a trowel and lighter to burn the paper. That's it. If you have any toilet tips please share them. OR join the Glamoraks community to get other tips and advice for women who love to walk. If you are a keen walker, particularly if you like long distance walking, you will know just how important it is to look after your feet. It seems crazy that a little thing like a blister can end your adventure, but they can and do. So how can you take care of your feet? I asked Sophie Gooley, a podiatrist at The Boxgrove Clinic, to share her advice on how to keep feet in perfect shape for long walks. If you take nothing else away from this post, know this: Blisters are enemy number one. Blisters are caused by friction. Reduce friction and you reduce your chance of blisters. Sophie shares how to with her tips below: 1. Cinderella - get boots that fit Looking after your feet begins with the correct footwear. A poor fitting shoe usually means there is more movement in the shoe, which means more shearing forces (friction) on your toes and feet and that results in blistering. Bottom line is - does the shoe fit?! Here's how to check:
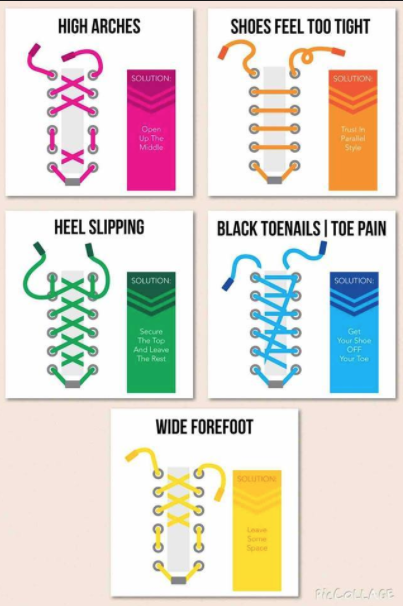
When trying on shoes or boots, make sure you are wearing the socks you're likely to walk in. If you have specialist insoles, make sure you take the existing boot insoles out and use yours instead. Lastly, remember that you will need to walk your boots in. Go for short walks to in your new boots before attempting a mega hike. 2. Lace Up If a lace needs to be pulled more in one area of the shoe, particularly around the midfoot, then it might mean you have an ill-fitting shoe. Lace your laces in the hole furthest to the back of the trainer or walking shoes and tie them tightly. This gives you more support around the ankle and again less movement within the shoe. But you may also want to try these lace tying variations depending on your particular feet issue. 3. Socks matter No matter how good your boots are, if you wear the wrong socks, you can still get blisters. You want to keep your feet dry so look for moisture wicking socks rather than cotton socks. Vary them by season to ensure your feet stay warm but don't overheat and sweat. Some people swear by wearing two pairs of socks - a thin liner pair underneath a thicker pair. Experiment and see if this works for you. Regardless, it is worth spending money on good quality socks. 4. If it ain’t broke don’t fix it Once you’ve found a shoe that works & is supportive and comfortable, stick with it. If possible buy two pairs as your feet will thank you for forward planning. A shoe brand often makes the same shoe in different guises, so if you cannot get the exact shoe again, ask the retailer which is the closest to the original. 5. Be wary of Tape Many people use tape to prevent friction but this is actually adding an extra layer of material which has the potential to cause shear and create additional tissue stress and therefore a blister. Also the adhesive in the tape over time can increase the risk of tissue breakdown. However, taping can be useful if the foot needs support or if you develop something Iike a tendon problem. Bottom line is that tape can be useful but not as a preventative measure. 6. What to do it you get a blister Even with all the best preparation, blisters are a common side effect of long distance walking. You'll start to notice a blister forming when you feel a 'hot spot', an area on your foot that feels literally warm and possibly a bit painful. It's best to stop and protect the area immediately, rather than waiting for the blister to develop fully. If you notice a hot spot or a blister has come up, put some semi compressed felt behind or around the blister, not on it. Adding another layer is only going to increase the friction at the contact point. Adding something behind it or around it should help alleviate the pressure. If a blister has formed, keep the area clean. If it is still painful with felt behind or around the blister, then prick the blister with a sterile needle, gently squeeze the fluid out, keep the blister skin in tact to prevent an open wound and cover with a blister plaster. You may still protect with the felt to take the pressure off the area. 7. Toenails & general foot care Foot care extends to toenails, which should be trimmed straight across the nail and not rounded at the corners. Your big toe, in particular, is more prone to an in-growing toenail if you cut your nails too short. Once clipped, your toenails, should be smoothed down with a file to remove rough edges. Toenails which are too long can cause pressure on the bed of the nail which can result in extreme discomfort, bruising & loss of the nail. Looking after the skin on your feet is also essential. Some people believe that having thick, callused skin on your feet prevents blisters but this isn't true and blisters on callused feet can be difficult to treat. A callus file and a moisturising cream (Flexitol) can soften problem areas for good foot care. It is also vital to prevent cracks in the skin of your feet, especially on your heels, as they are prone to split open which is both incredibly painful and open to potential infection if not treated. 8. Rest feet when walking When you stop for a break or the night take your boots & socks off and give your feet a chance to rest and breathe. Open them to fresh air and direct sunlight and wear flip flops or sandals will allow them to recuperate better. 9. Foot Care Kits For Hiking Carrying a small foot care kit in a Ziploc bag is not going to take up much room and will give you much relief from the problems associated with walking. Things like blister patches, sterile pin to drain blisters, cotton wool and felt can make the difference between carrying on or not. Share your best footcare tips on the comments below or over in the Glamoraks community. Happy hiking!
|
Categories
All
Archives
July 2024
|
Get social. Follow us.
|
Don't get left out.
Add your email to be alerted about any Glamorak events, walks, get togethers, challenges or news.
Success! Now check your email to confirm your subscription.


 RSS Feed